This post may contain affiliate links. As an Amazon Associate I earn from qualifying purchases, but there is no additional cost for you. Please see my Disclosure page for more information.
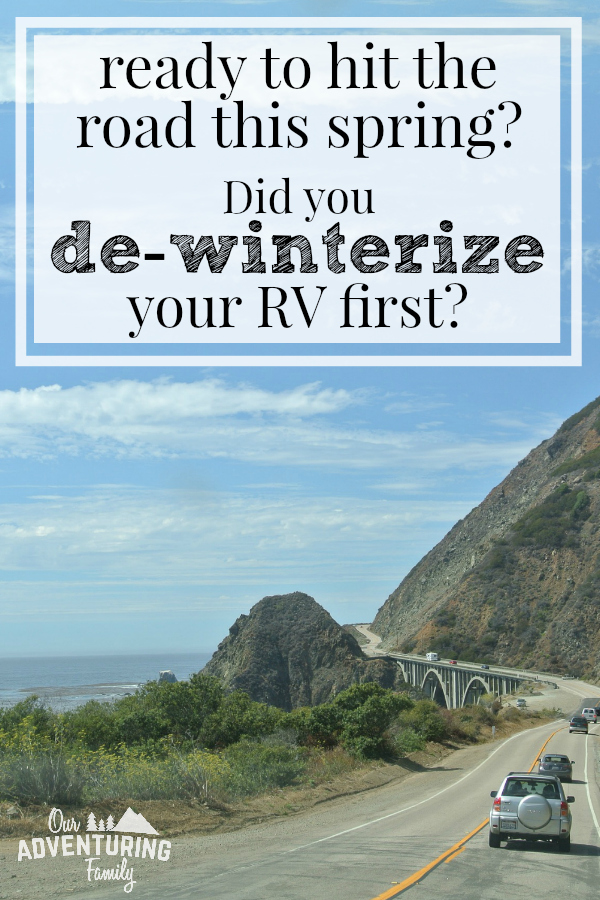
In the fall, you winterize your RV or travel trailer to protect your pipes and keep them from freezing and bursting. As the weather warms up and you get ready to start hitting the road again (or get ready to start using your water again, if you winter camp without using water), it’s time to de-winterize your RV.
Before you do so, make sure the temperatures will remain above freezing. We had temps in the 70s last week, but nighttime temps are in the 20s again this week. We’ll hold off on de-winterizing just a bit longer.
Once you’re sure temperatures won’t fall below freezing, you have a couple options for de-winterizing.
- Have the dealership do it.
- Read your owner’s manual and do it.
- Watch YouTube videos and do it.
If you’re doing it yourself, you’ll probably need to combine options 2 and 3 for best results. It’s actually a fairly simple process as long as you know where the bypass valve is. Consult your owner’s manual on that one- every manufacturer puts it in a different place, so I won’t attempt to tell you where yours is.
Next, which method was used to winterize your RV in the fall?
- Water drained, then lines blown dry with air
- Water drained, then RV antifreeze run through the water pipes and into the tanks
Consult your owner’s manual, but here’s the short version of how to de-winterize your RV.
If you blew air through the pipes to winterize it, then first open up the bypass valve. Connect a water hose to the RV or trailer. Then open all the faucets in the shower and sinks and run the water until it stops sputtering.
If you used pink RV antifreeze, make sure you have access to a sewer hookup so you can empty your tanks as you flush them. Leave the bypass valve for the water heater closed because you do not want to get antifreeze in your water heater. Connect a water hose to the RV, and open all the faucets. Run the water until it runs clear, filling the gray water tank during this process. Dump the tank and run more water to flush all the antifreeze residue. Pink RV antifreeze is nontoxic, but you still don’t want it sitting around in your pipes. Once all the residue is flushed out, open the bypass valve so water can enter the water heater.
Check that everything is working properly
Make sure water is in the water heater, turn it on, and wait for the water to heat up. Let the water run and check for leaks under the sinks and shower and in the storage compartments under the RV. When we had our frozen pipe issue, our shower started leaking into the storage bay under the back bed and adjacent to the shower.
Take the time now to make sure everything works. Then when you go out on your first trip of the year you’re not blindsided by leaking water or no hot water. Take it from me, you don’t want a trip ruined by water problems.